Backpacking Hacks: Filtering Nasty Water Like a Pro
Thank you to aquatabs for sponsoring this blog post! I’ve carried them on every trip since the PCT in 2019.
Over the course of my backpacking career, I’ve had the distinct privilege of coming across some extremely questionable water sources. I think I perfected my nasty water filtering techniques on the CDT, but I know you can come across some pretty rough sources on most long trails, including the PCT and AT.
Today, I want to talk about some important tips I’ve picked up along the way for how to make drinking water in the backcountry both safe and pleasant.
Obviously, your number one defense against foul backcountry water sources is skipping them completely. You can plan for that by reading water reports or perusing Far Out comments. But if it’s inevitable, like the only water in the middle of a 35 mile stretch is a cow pound featuring a cow patty soup being stirred by the cows themselves, and you’re down to your last half liter in the middle of a scorching New Mexico afternoon, I’ve got some tips that will hopefully save your taste buds and your digestive tract.

Josh collects water from a cow tank in New Mexico.
Pick a good collection spot to get cleaner water in the backcountry.
One of the big problems with getting drinkable water from these especially gross backcountry water sources is there can be a lot of solid debris in the water you collect. The worst ones tend to be stagnant ponds which make it very easy to stir up the water while you try to collect from the shallow shore, which leads to even more debris in your collection. To avoid this, try and find a rock or log that’s sticking out for you to stand on and collect your water as gently as possible to avoid stirring up more muck. Sometimes this means moving to different collection spots if you have to refill your bottle more than once.
If it’s a cow tank with a lot of algae, sometimes you can gently brush algae to the side, or collect from below it to avoid getting the greens in your water (and eventually in your filter).
In summary, try to avoid getting debris from backcountry water sources in your dirty bottle BEFORE you even filter it.

Filtering water from the nastiest source I have EVER drank from.
Pre-filter the dirty water from backcountry sources.
At a lot of these sources, some debris in your dirty bottle is going to be inevitable. This is where having a bandana and a partner can come in handy. To avoid having two dirty bottles, pair up with someone to pre-filter your collected water.
Take a bandana or cloth and put it over the mouth of the dirty water bottle. Slowly squeeze the water through the bandana into another dirty bottle. This will filter out some of the larger, filter-clogging debris.
Try moving the bandana around as you filter so you don’t get a ton of debris buildup in one spot.
If you use a bladder you can do the same thing with the mouth of the bladder into another or into a dirty bottle.
Side note: if you’re new to filtering water while backpacking, make sure you always have a designated “dirty” bottle and “clean” bottle. You should never drink anything out of the dirty bottle, as the bottle itself could be contaminated, even if you put filtered, clean water in it. I like to just leave my filter on my dirty bottle to tell them apart.
Filter your dirty water.
Now, it’s finally time for the step you’re used to, regular old filtering. Hopefully the steps you’ve already taken will keep your filter from getting too clogged with the mystery debris that plagues the pond you’re collecting from. Filter the dirty water into a clean bottle.
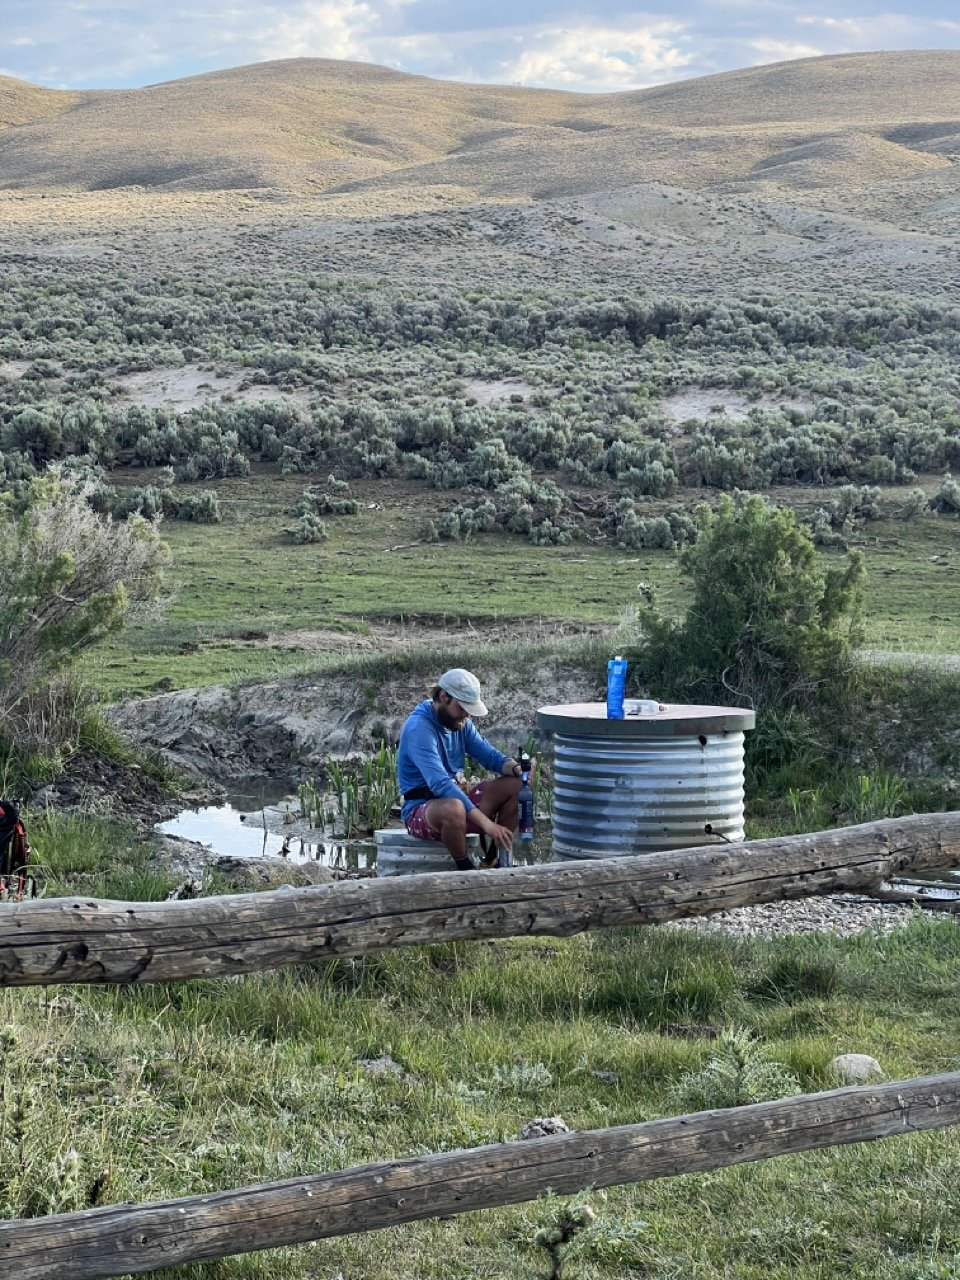
Josh filtering water from a cow tank in the Great Divide Basin.
Aquatab your water after using your filter.
Next, I always carry aquatabs and always use them on water from sources like this. Most backpacking filters don’t filter out viruses, but Aquatabs will kill them so I always use them to prevent any potential GI issues.
To use aquatabs, you just add a tablet to 1 liter of water (1 tablet can actually treat up to 2 quars, so about 1.8 liters if you have a larger container), mix well, and wait 30 minutes.
Aquatabs are also nice to have if you’re feeling a little too lazy to filter from a really beautiful source, you can just pop these in, wait 30 minutes, and drink with peace of mind and no squeezing. Shoutout to my pal Stickerz who turned me onto this trick after long days slogging through snow in the Sierra in 2019.
Aquatabs are also EXTREMELY light like an entire pack weighs 0.16 oz. so it’s kind of a no-brainer to have them in your pack, even for the most hardcore ULers among us (and actually, they’re lighter than any backpacking filter on the market).
Aquatabs are a great way to get clean water while backpacking.
Add Additional flavor to your water if necessary
Finally, these sources that look like they could be home to swamp monsters usually don’t taste great, and filters generally don’t change the taste. I do find Aquatabs actually help mitigate this a bit, and gets you a little closer to tap water, but it doesn’t always completely cover the notes of cow poop.
Now that it’s safe to drink, I typically use some sort of flavor to make it more pleasant.
I typically carry flavored electrolytes anyway, so this is an easy way to cover up the taste of nasty water, but you can also carry flavor packets like crystal light or kool aid if you know you’ll be hiking through an area with some questionable water sources.
I hope these tips help you get clean water while backpacking next time you’re in the middle of cow country and they’re willing to share.
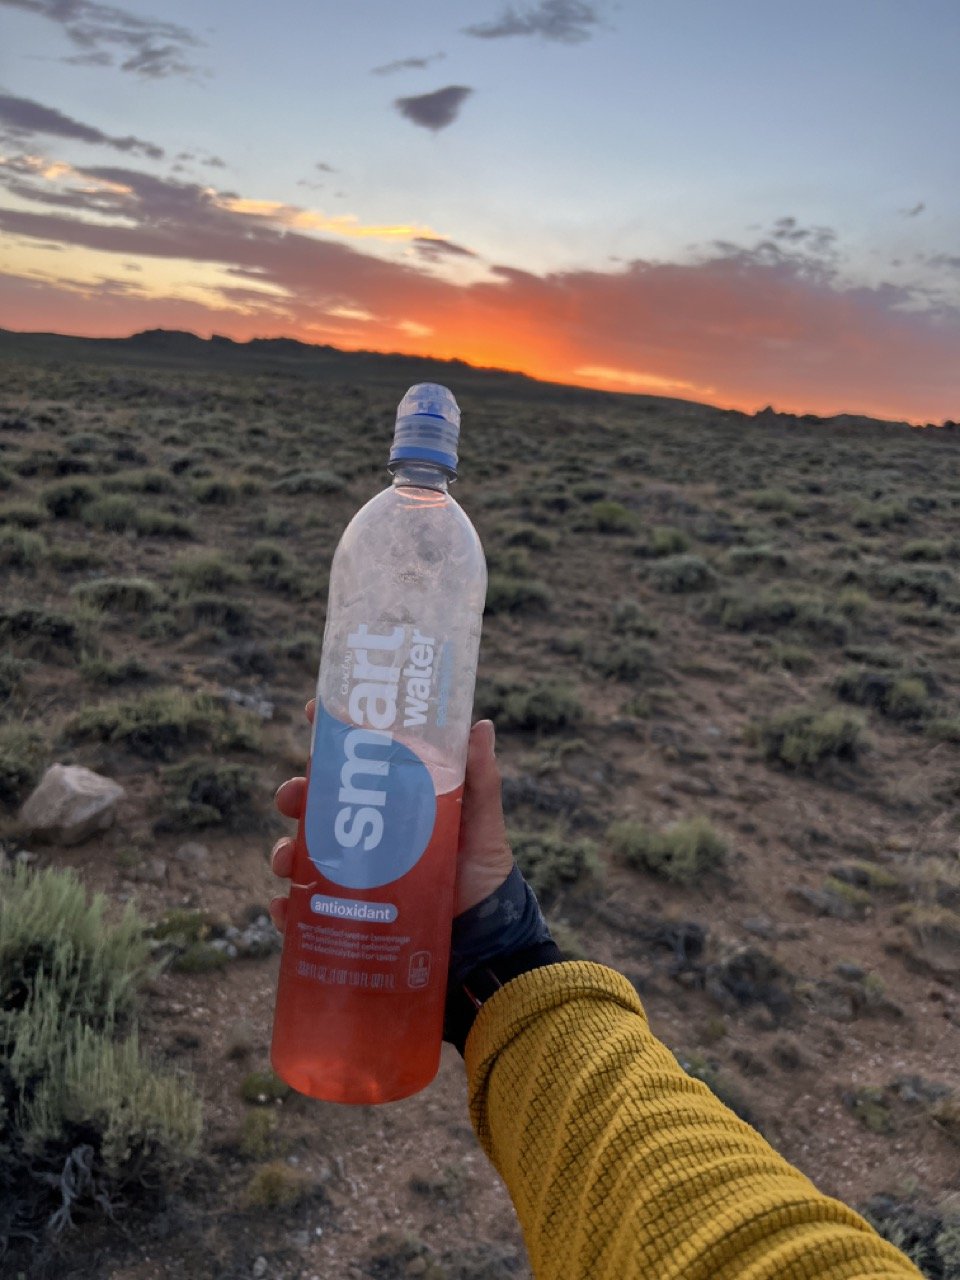
Sweet, sweet electrolytes and caffeine.