How to Choose a Sleeping Bag for Backpacking
One of the things I found the most overwhelming when I started backpacking was choosing gear. You go into it thinking, “okay I just need to choose a sleeping bag,” but there are about 50 different micro-choices that go into that decision and the nuance can be nauseating. So where to start?
If you know what environments you’ll most commonly be backpacking in, you can use this guide to work backwards from that and end up with the answers you need to get the perfect bag. Of course, there are several other factors that can affect your sleep system (like base layers and sleeping pads) so keep those in mind, but this should be a solid start.
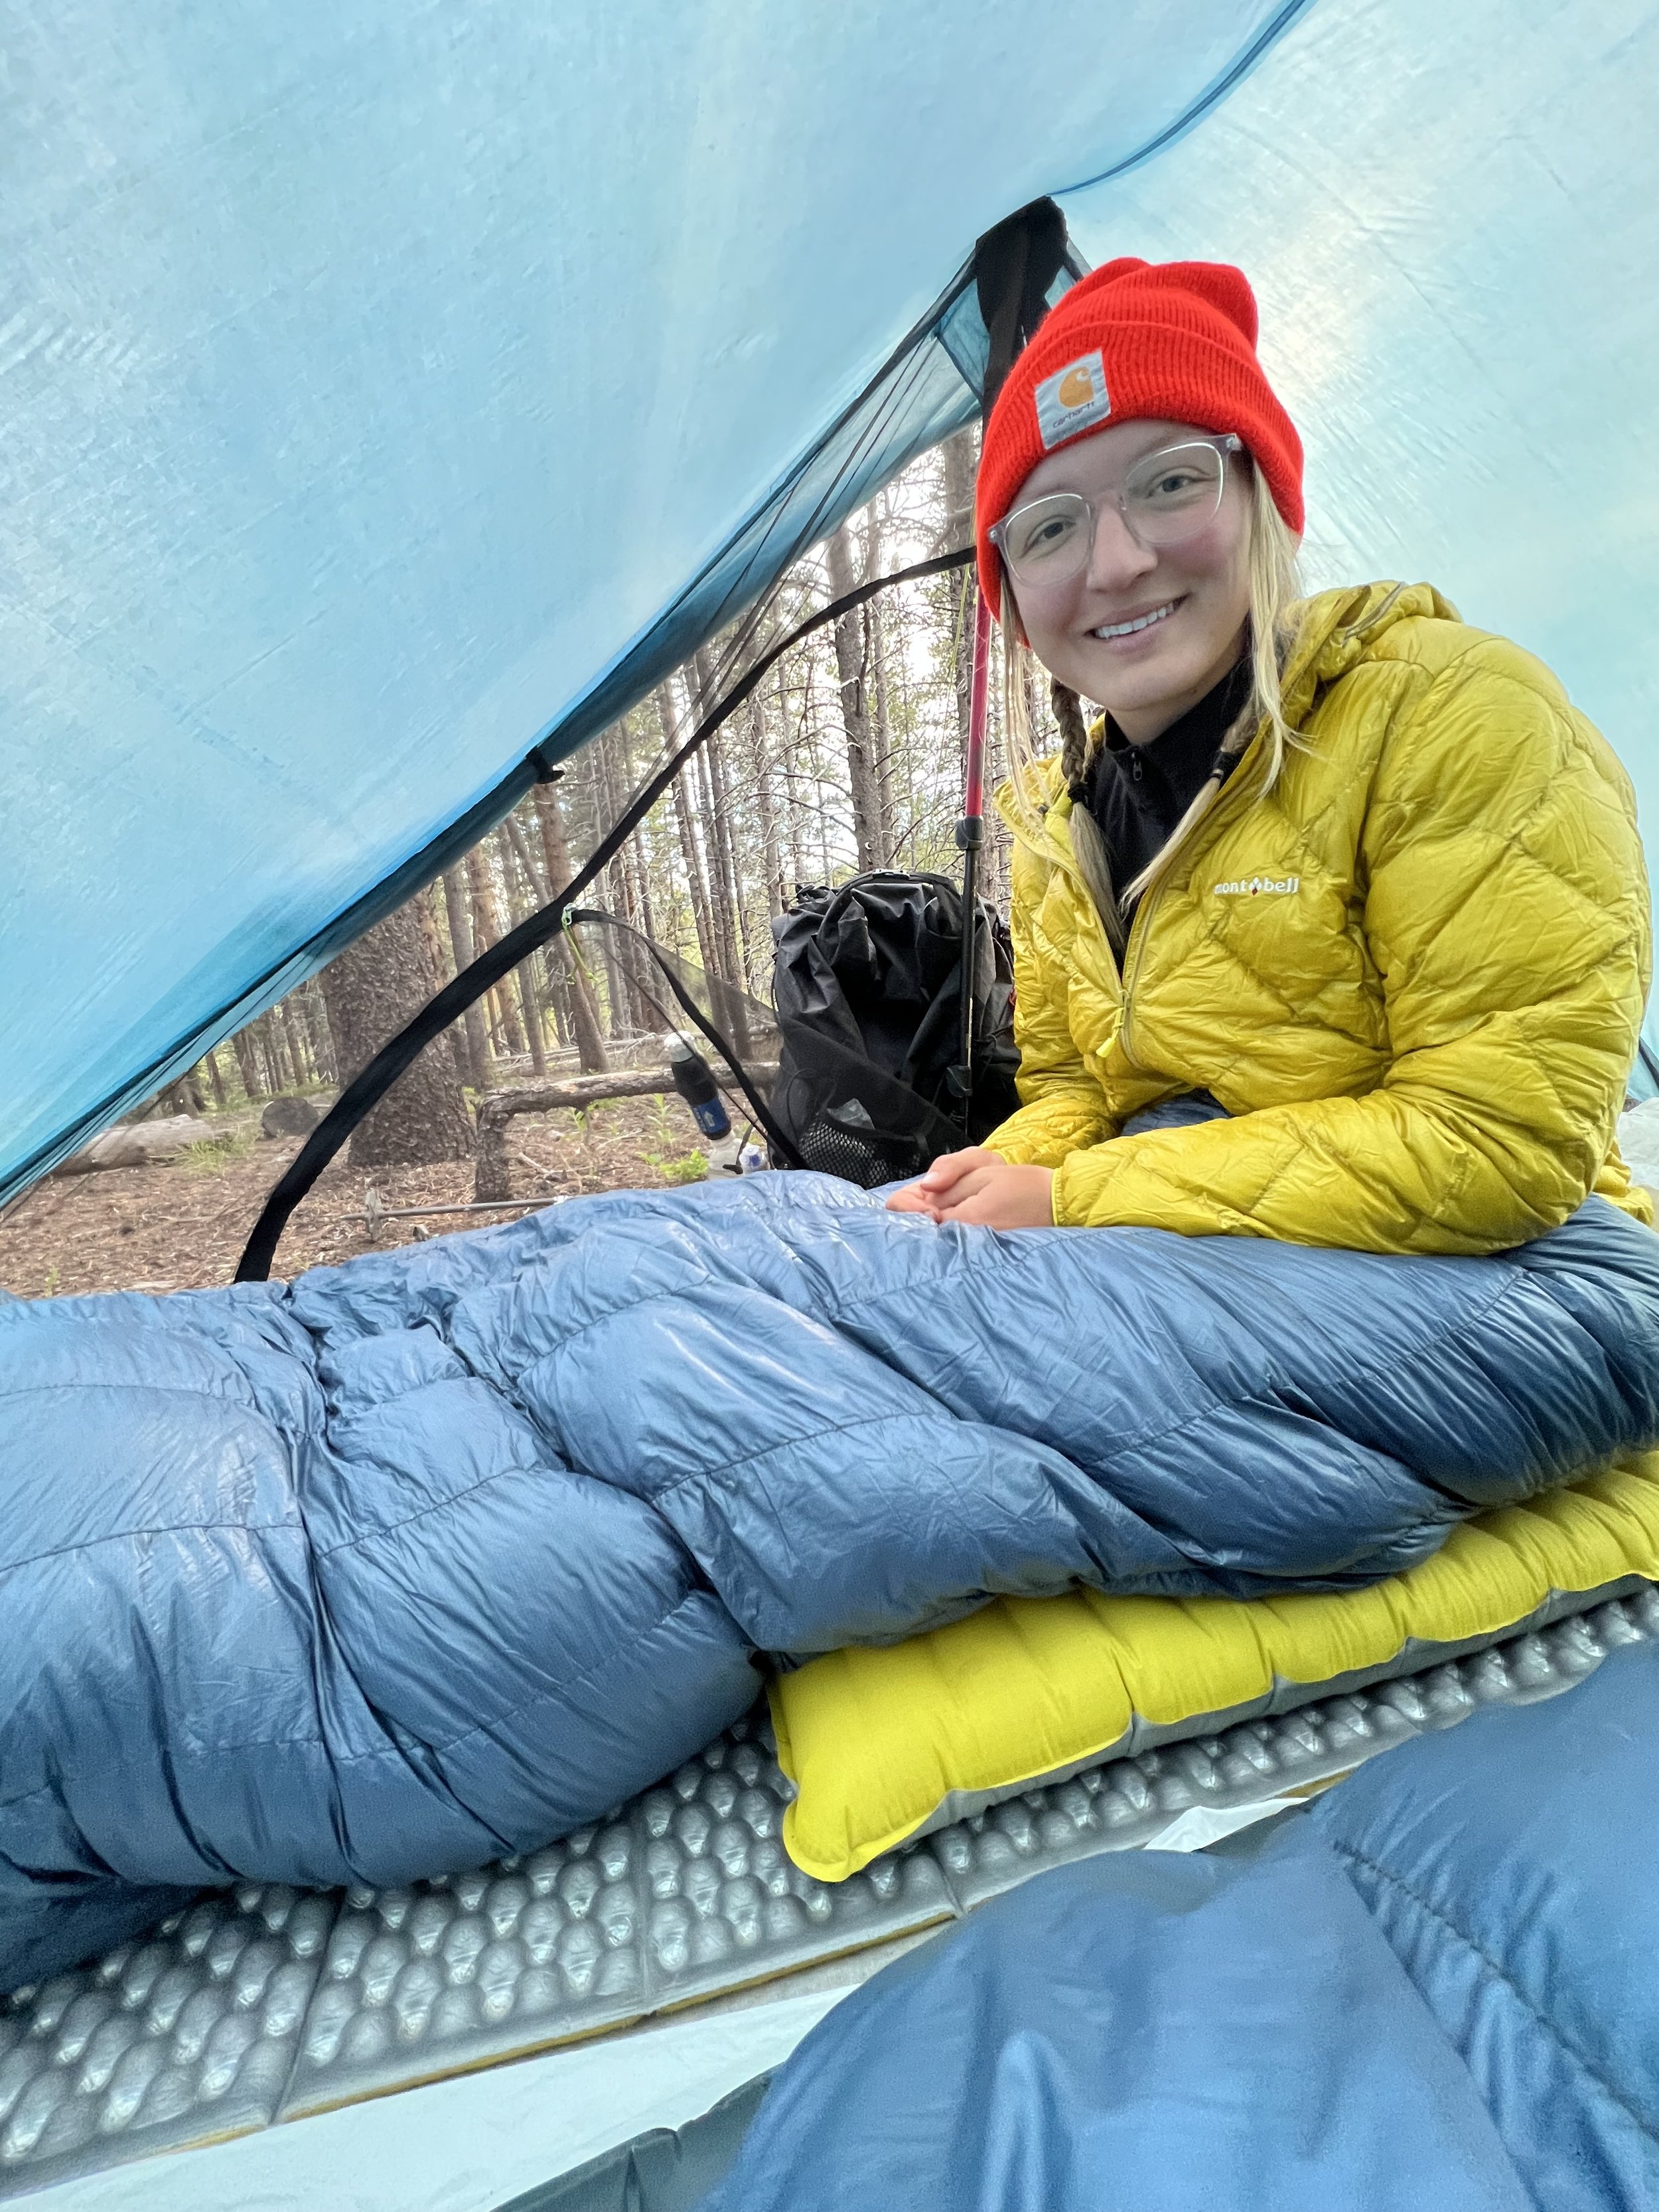
Turning in for the night on the CDT in Colorado with my Zpacks Classic 5 degree sleeping bag.
How to choose between synthetic and down sleeping bags
One of the first decisions you’ll have to make when shopping for sleeping bags is whether you’re looking for one filled with down or with synthetic materials. Each have their own pros and cons, but the norm in long distance backpacking is usually down. To understand why, let’s look at some of the pros of down sleeping bags. First (and arguably most importantly) down sleeping bags are warmer for less weight than their synthetic counterparts. Down is the best way to get lightweight insulation. It also packs down much smaller than synthetic materials. Down is great for avoiding a bulky pack (and lets you have more room for important things — like food). Down sleeping bags also often last longer than synthetic ones. If you take good care of your down bag (washing and storing it properly) it will pay you dividends in years of use.
Now you might be thinking, this is all fantastic, can down bags do no wrong? To which I say, down bags are great but they do carry a few cons. One major potential drawback is down’s inability to insulate when wet. If you let your sleeping bag get soaked during a rainstorm, you better have a backup sleeping plan for the night ahead. Proper shelters and backpacks should prevent this from happening, but it’s worth noting if you are planning to hike in consistently wet and cold climates (late shoulder season in the North Cascades comes to mind). Down bags also do require special maintenance (they should only be washed with specific detergents) and can be damaged if they are stored while compressed. Down is also more expensive than synthetic, but as I pointed out before, if you take good care of it, it will last you a long time. Finally, some people are allergic to down, eliminating the option completely.
This brings us to the upsides of synthetic insulation. Unlike down, synthetic materials used for sleeping bag insulation are water resistant and will keep you warm when wet. This makes down bags ideal for settings in which getting wet may be unavoidable. Synthetic bags are also often more affordable than ones filled with down, because the materials are easier to source (no need to involve geese or ducks). Finally, synthetic would be the option for you if you happen to be allergic to down.
That being said, synthetic filling of course has its own downsides as well. It’s less warm and more heavy. It’s also buliker, so it’s not a great solution for backpacking where low weight and less space are priorities. Synthetic insulation is also much leeds durable than down — it loses a little bit of it’s insulation power each time it’s compressed.
So what’s a backpacker to do? If you can afford it I recommend going with a down bag and taking extra care to keep it dry in wet climates. My go to is a trash compactor liner inside my backpack (lighter than dry bags and works just as well).
TLDR:
Down
Pros:
Warmer for less weight
Compresses easily
Lasts longer (when taken care of properly can last for years)
Cons:
Doesn’t insulate when wet
Requires special maintenance
Potential allergy concerns
More expensive
Synthetic
Pros:
Water resistant
Insulates when wet
Hypoallergenic
Cons:
Less warm for more weight
Heavy & bulky
Less durable (loses insulation power over time)

Camping at Capitol Lake with my Katabatic Sawatch 15 degree quilt.
How to choose between a quilt and a traditional sleeping bag
In the last several years quilts have taken the backpacking world by storm. They’re new, they’re cool, and most importantly — they’re another way to shave a couple ounces off your base weight. But what exactly ARE they? And how are they different from regular old sleeping bags?
A quilt is basically a down blanket. It removes the back part of a sleeping bag. Because you’re usually sleeping on top of the insulation that’s in the back, it gets compressed and provides very little warmth anyway. Using a quilt removes that unnecessary extra bit of insulation and fabric so your pack is lighter without losing much (if any) warmth. Most quilts even come with cinched foot boxes and extra straps to keep you enclosed and semi-attached to your sleeping pad. This helps reduce draft and keep you nice and toasty all night long. However, not all quilts are created equal — some can be drafty depending on their design so it’s always best to read reviews before buying.
Assuming we’re all familiar with your standard sleeping bag, I’ll try to be brief. The main differentiators here are mummy bags (with enclosed hoods) versus not mummy bags. Mummy bags are great for winter camping and those of us who like to be snug as a bug in a rug when camping, but the extra material does add more weight.
No matter what, traditional sleeping bags are going to zip all the way up and always have enclosed foot boxes, making them less likely to be drafty.
The choice here really comes down to preference, if you like to be swaddled like a newborn baby while you sleep, you likely land closer to the mummy bag end of the spectrum. If you like the freedom to occasionally stick an entire leg out from under your blanket, quilts will be for you. It’s common practice to say if you toss and turn a lot a quilt might be a good idea, but I disagree. I think this introduces more opportunity for draft and a traditional bag might be a safer bet. All in all, you may be able to save a little weight by going with a quilt, but not always.
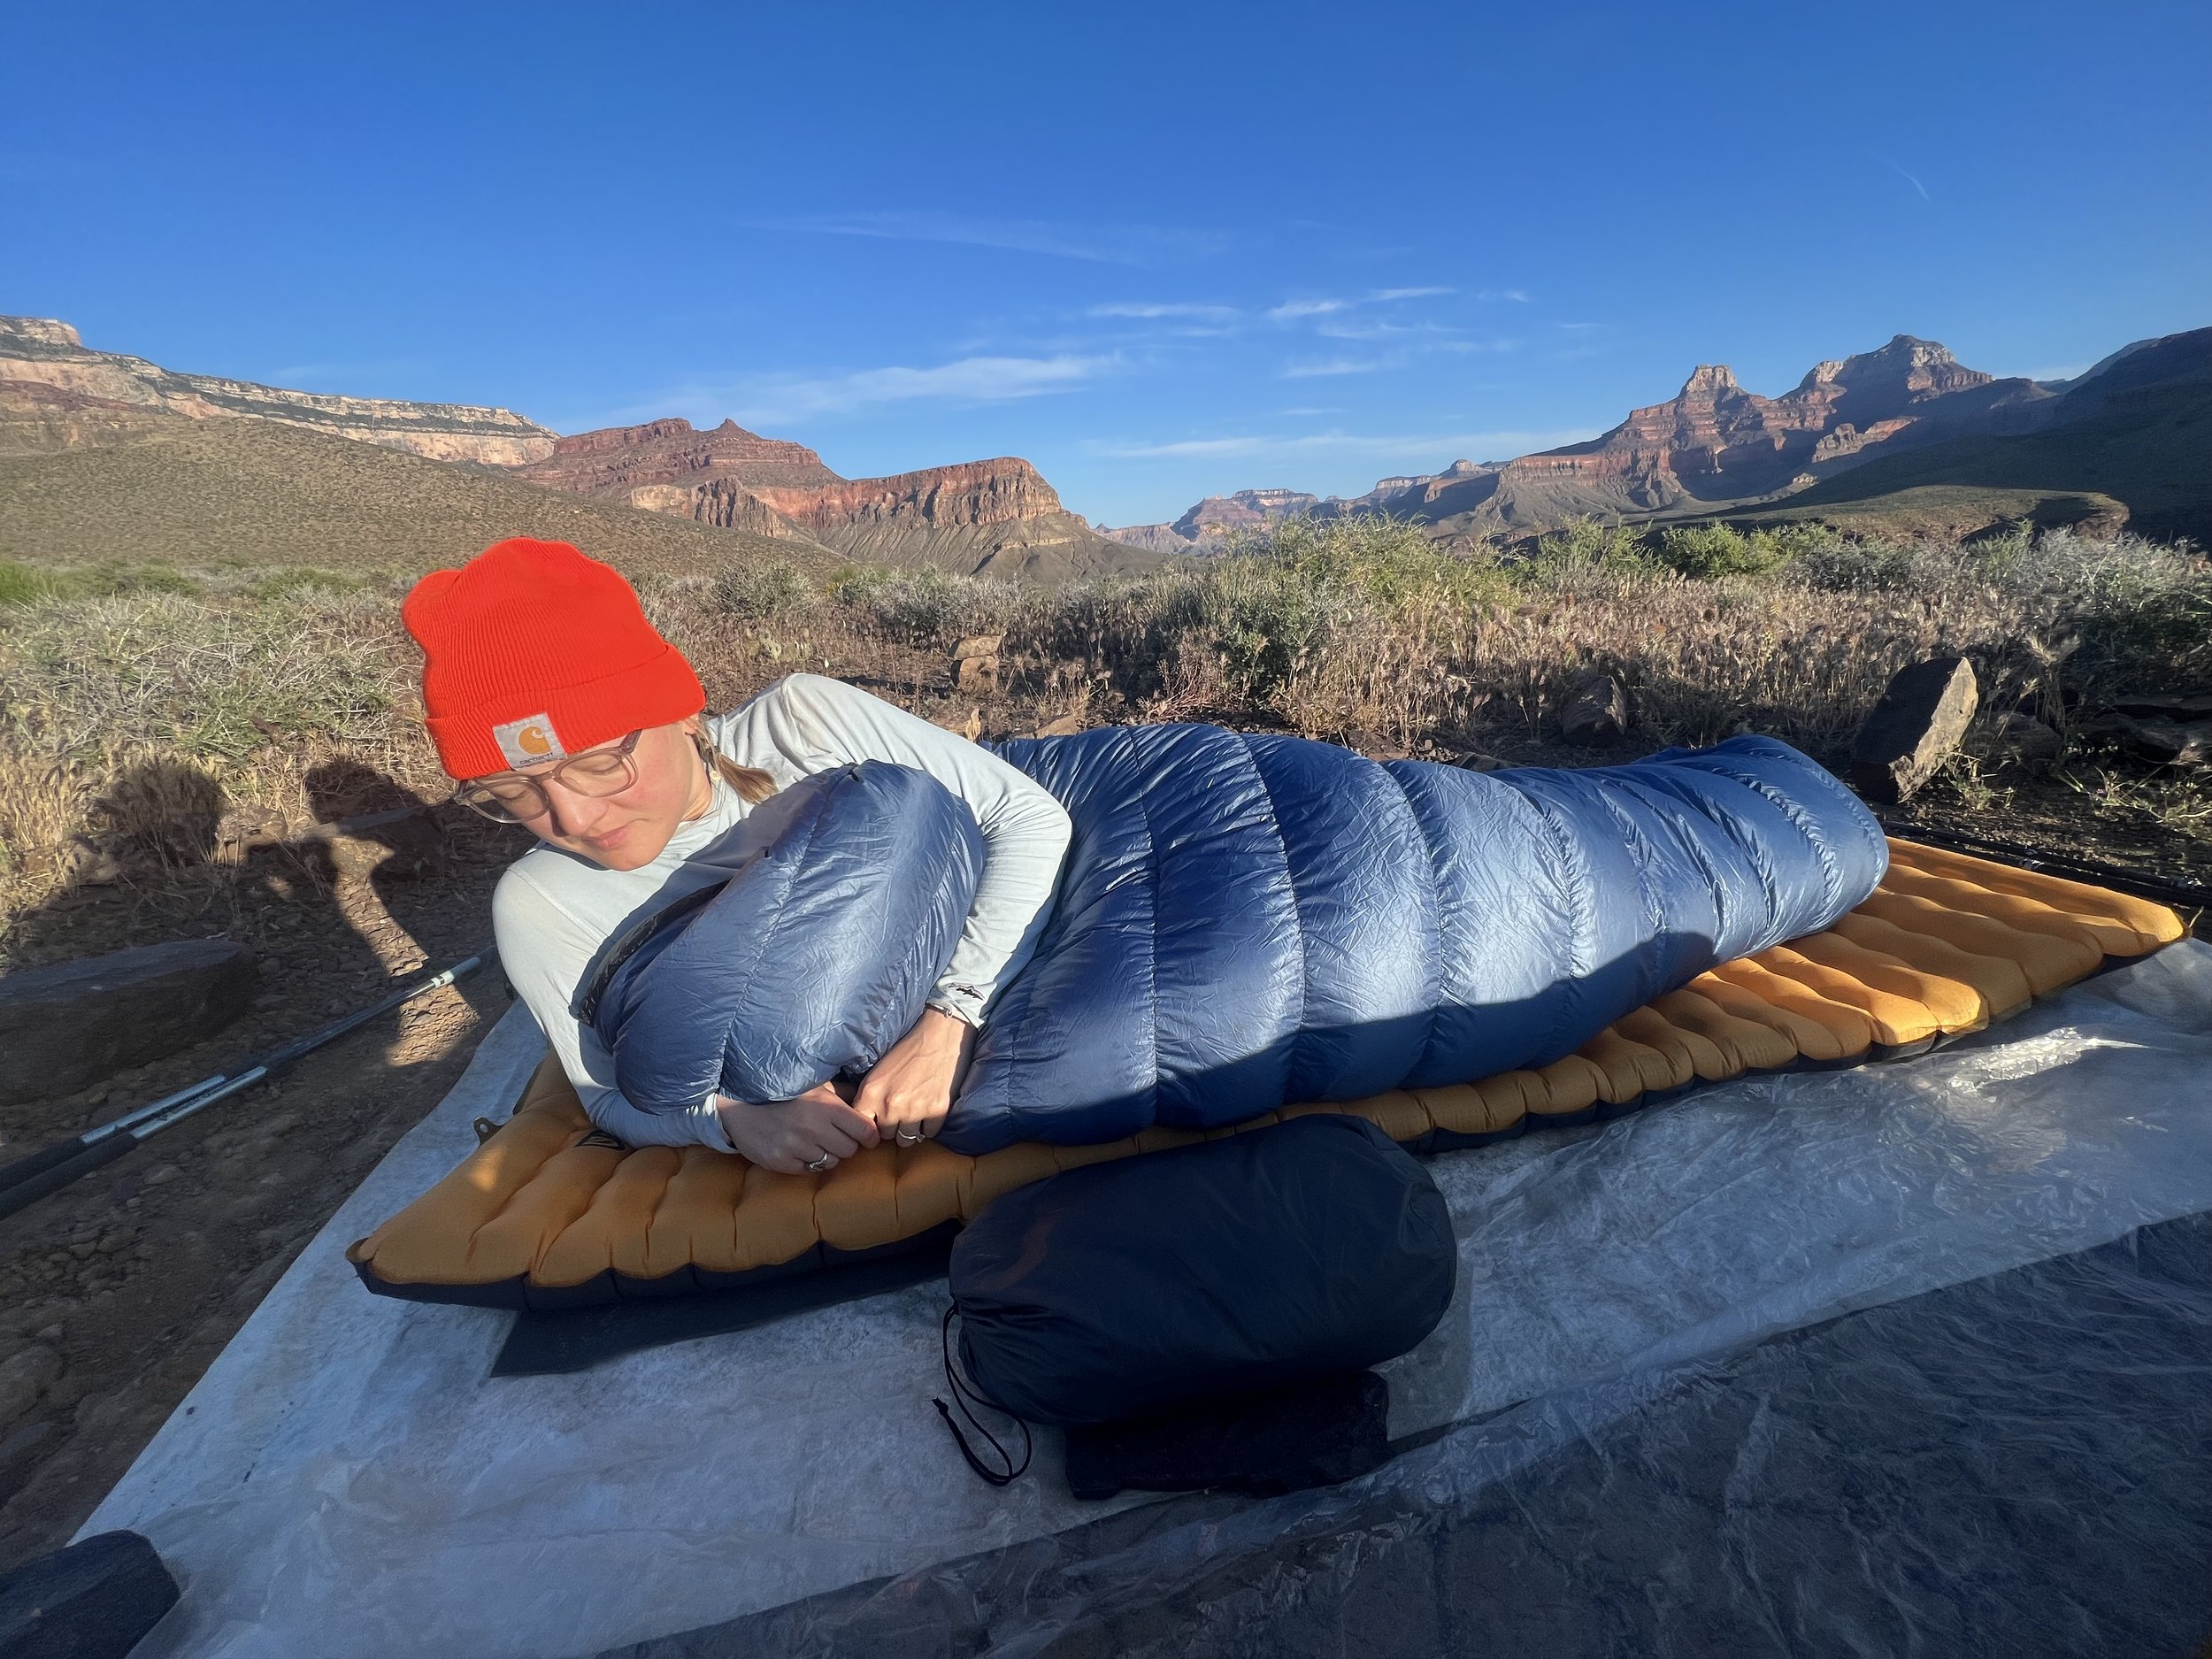
Cowboy camping in the Grand Canyon with my Katabatic Sawatch 15 degree quilt.
How to choose your sleeping bag temperature rating
A temperature rating indicates the lowest temperature at which a bag will keep the average sleeper warm. For example, a 5 degree bag will keep the average sleeper warm in 5 degree temps, but no colder. Additionally, a 5 degree bag is warmer than a 30 degree one. There are two key takeaways I gathered as a newbie backpacker trying to figure out temperature rating — the standardization of temperature ratings is worth paying attention to (more to come) and it’s worth figuring out where you fall compared to the average person. Personally, I run pretty cold. It doesn’t take much for me to shiver and I find I need a bag about 20-25 degrees warmer than its stated rating to be comfortable. Granted, I’m sure I could survive at those temps with that bag, but we aren’t shopping for survival gear here, we’re shopping for leisure (hopefully). So what I mean by that is in order to be comfortable in 30 degree weather, I’m bringing a 5 degree bag.
Now, let’s talk about temperature rating standardizations because all of this is pointless if sleeping bag companies are just making up the temperatures their bags are supposed to be useful for. There are two main methods of standardization — EN (European Norm) & ISO (International Organization for Standardization). These are both widely accepted standards for bag ratings and often come with a “comfort” rating (for cold sleepers like myself) and a “limit” rating (meant for those lucky warm sleepers who can get away with lighter bags). If the bag you’re looking at doesn’t have one of these standardized ratings, I’d err on the side of caution and go warmer than you might usually and also read as many reviews as possible. It’s much easier to stick out a leg or unzip your bag to cool down than it is to be uncomfortable (or possibly in danger) with a bag that’s not warm enough.
Thanks for bearing with me through the explanation of temp ratings — now to the nitty gritty of which temperature ratings you should look for depending on the season and areas you’ll be backpacking in.
Standard rule of thumb (remember to adjust based on your personal temperature tolerance):
20 degree bags and lower: typically used in cold weather (winter, early spring, late fall) and alpine settings.
20 – 32 degree bags: Used in true shoulder seasons and higher elevations
32 degree bags and up: Used in summer and at lower elevations
If you’re an average sleeper looking for a three season bag (like you’d use on a thru-hike), I’d go with something in the 20-32 degree range.
As a personal anecdote — I used a 5 degree bag on the PCT because I told y’all — I’m always COLD. This was a bit of overkill during parts of the summer, but I would just sleep with my zipper undone or use it more like a blanket on warm nights. It was definitely worth it once it got to be October in Washington.

Cowboy Camping in the San Juans on the CDT in late May (added a liner for extra warmth here).
How to choose the fill power & fill weight of your sleeping bag
Fill power and weight applies exclusively to down bags, and it’s important to know what the numbers mean when you’re searching for your perfect sleep sitch.
Fill power refers to the quality of the down, and is measured by the amount of space 1 oz of down takes up. The higher the fill power, the lighter and fluffier your bag will be.
Fill weight refers to the amount of down, and is measured by the ounces of down in a comforter. Fill weight is the main driver of warmth.
While fill weight is the main driver of warmth, higher fill powers will help insulate better at a lower weight.
Put as simply as possible: More space between down = better insulation = a lighter and warmer bag.
Put into practice: if you’re customizing a bag and you want it rated to 10 degrees, and have the choice between 850 and 950 fill power — 950 fill power will give you a 10 degree bag for less fill weight than 850 fill power would.
How to choose the size of your sleeping bag
Choosing the size of your sleeping bag is pretty straightforward (using gear company’s size charts) but there are a few tricks to keep in mind.
Length is determined by your height — but you’ll want to be sure to add a few inches if you’re a stomach sleeper.
Width is determined by, you guessed it, your width — you’ll typically want to measure around the widest part of your body (including your arms at your side). Be sure to add a few inches if you move around a lot in your sleep.
Pro tip: since lots of cottage gear brands are only available online and it might be hard to envision what will actually be comfortable, you can either 1) go into a store like REI and test out bags there (and make note of their measurements) or 2) safety pin a sheet together at home to test out how certain widths feel.
How to choose sleeping bag based on weight & cost
This is where things get a little hairy. Almost every other choice you make will impact these two, very important factors. A good weight for a down backpacking sleeping bag is under 2 pounds, but lighter features often cost more. I personally think it’s worth investing in great gear that you’ll love, because it’s cheaper to buy one $400 bag than it is to buy 3 $150 ones.
The lowest cost bags will typically be heavier synthetic ones, while light down bags can get fairly pricey.
If you’re new to backpacking and afraid to take the plunge on a top of the line, 950 fill power, 10 degree, $400 down bag — consider looking for second-hand options on facebook marketplace or resale apps. Some cities even have gear consignment stores where you can find great used gear for affordable prices. Finally, if you plan ahead you can shop sales (black friday is a GREAT time to buy off-season gear).
Sweet dreams my future happy campers!